| Initial Construction | ||
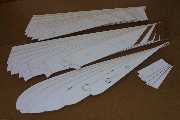 Templates |
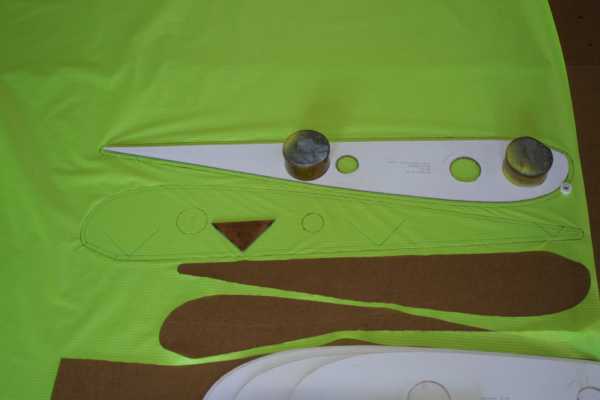 Cutting ribs |
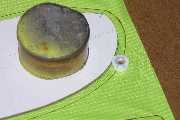 Cutting out with cuting wheel |
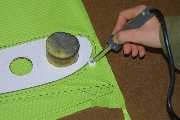 Cutting wheel and Soldering Iron |
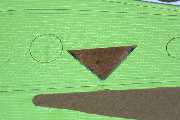 Marking bridle attachment Draw the vee using the template and stitch the cord to the line. |
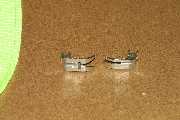 Modified presser feet The groove in the bottom aids feeding the reinforcement cord |
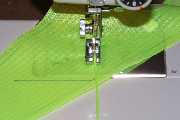 Attaching bridle reinforcement |
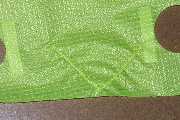 Bridle reinforcement complete |
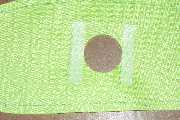 Cross vent reinforcement - sticky ripstop. |
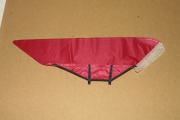 Tip flare attached to the tip skin An alternative way to make the tips is to sew 2 identical pieces together with the bridle attachment tapes sewn inside. Turn the tips right side out and stitch a second row close to the edge. click here to see the finished "winglet" on a Firecrest v1 |
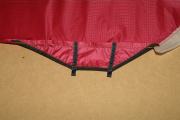 Tip Flares up close. Notice reinforcement on edges and bridle attachment |
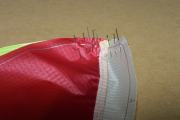 Pinning the first two top skins together |
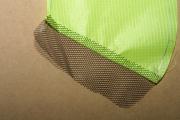 Gauze attached to the top skin |
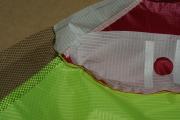 Tip skin attached to the second skin and rib |
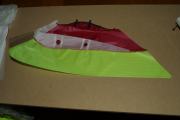 Tip skin attached to the second skin and rib |
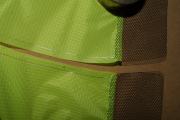 Match up adjacent skins |
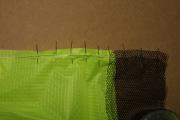 Pin skins together |
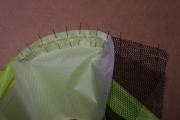 Pin rib to skins |
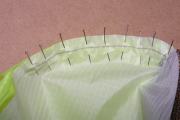 Pinning complete. Stitch along the stitch lines |
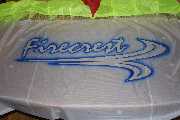 Stitch bottom skins to gauze. Apply logo with an airbrush |
 Stitch ribs to bottom skin Notice the square of sticky ripstop on the bottom skin. |
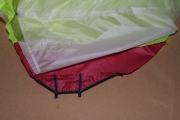 Preparing to close final tip |
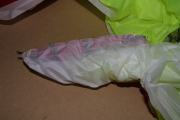 Turn skins inside out and pin |
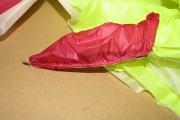 Pinned and ready to stitch |
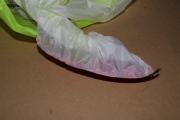 Stitched closed. Pull the right way out |
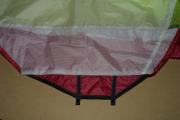 Tip completed and trailing edge finished |
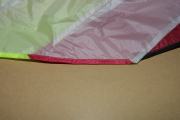 Close-up of trailing edge |
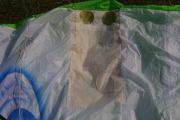 Vent and valve on water-launchable. Reinforce the holes with sticky-ripstop- |
 Vent and valve on water-launchable |
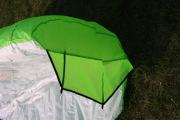 Tip flare |
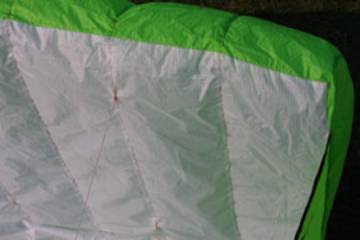 Sealed leading edge on a water-launchable |
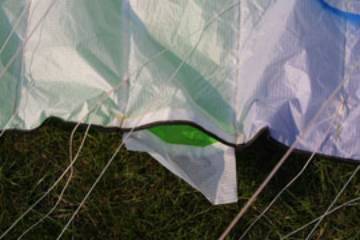 Trailing edge vent to release air and sand on a water-launchable. Velcro keeps it closed in flight |
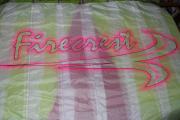 Logo applied (a different kite!) |
| Bridling tools | ||
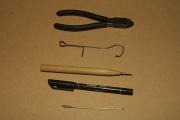
Bridling tools. You also need a tape measure! |
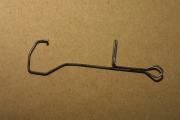 Hook for stitching loops in bridle cord |
|
| Creation of a knotless loop | ||
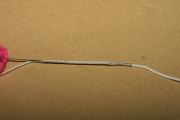 Insert sleeving tool into dacron (also works with some dyneema/spectra) |
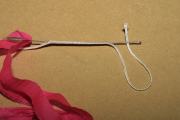 Hook end into the sleeving tool |
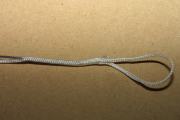 Pull the end through the center |
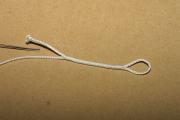 End pulled out |
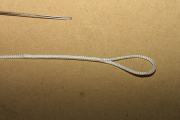 Complete loop |
|
| Making a stitched loop | ||
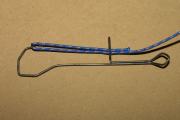 Making a stitched loop Hook loop of cord into the bridle tool |
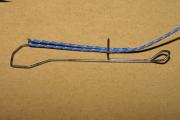 Ready to sew |
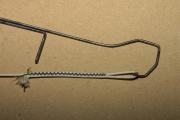 Use a very short zig-zag stitch along the length of the loop. Ensure the stitches fall in the center of each cord |
| Attaching bridle to the kite | ||
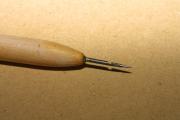 Bridle hook Push hook through the skin, around the bridle reinforcement and use it to pull the bridle through |
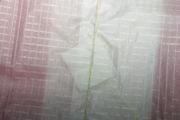 Bridle attachment point Sticky ripstop between the rib and the skin for extra reinforcement |
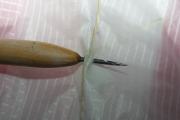 Push hook through skin |
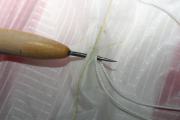 Hook bridle |
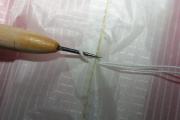 Pull bridle through |
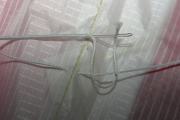 Knotless loop Insert sleeving loop through center of dacron bridle line and hook the end. Pull it back through the bridle |
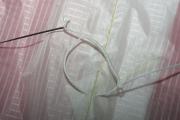 End pulled through the bridle line |
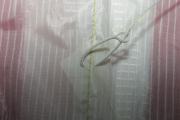 Loop completed |
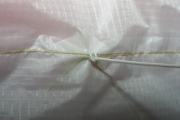 Loop pulled up tight |
| Secondary bridles on Firecrest 1 | ||
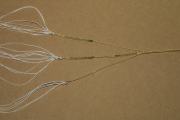 Collect A lines together and attach to the top secondary. Collect B lines and attach to center secondary. C lines attach to bottom secondary |
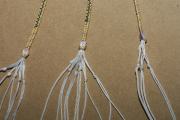 A, B and C lines attached to secondary bridle |
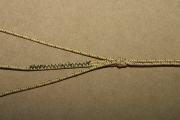 Secondary bridle (on left)attached to flying loop (on right). |
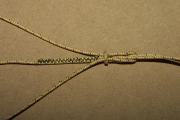 Secondary bridle attached to flying loop |
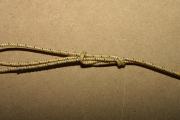 Secondary bridle attached to flying loop |
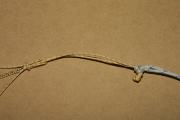 Flying loop attached to flying line |